

Install Media Wiki on macOS
{{Note|Note|I use the vi editor since nearly 30 years. Vi is the and more advanced editor and is standard on any serious Unix system.
To simplify editing for less advanded users I use the more user frienly editor called nano.
Searching in Nano is doen by Control-W, leaving by Control-X. Also note that a GUI editor like TextEdit can not be used with sudo.
}}
{{Note|Note|
sudo allows you to work as Administrator which is required for the tasks in this instruction.
- For being able to the sudo command you need to macOS Administrator (System preferences->Accounts).
- When you invoke it you have are ask for your Password and not for an administrator password. (There is no Administrator Password)
}}
- Luckily your macOS comes with 2 of the three prerequisites already installed:
- * Apache Web-server
- * and PHP
- MySQL need to be installed separately
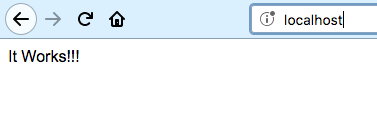
{{Note|Note|In earlier days Apache had a nice web page saying "It works" for Verification.
On macOS Sierra the the index page seems to be empty
}}
- Now we need to Edit Apache Configuration
- Open an Terminal and edit/etc/apache2/httpd.conf
sudo nano /etc/apache2/httpd.conf
- Load PHP remove the #
- * locate and uncomment the load instruction for php5: Control-W: php5
#LoadModule php5_module libexec/apache2/libphp5.so
to
LoadModule php5_module libexec/apache2/libphp5.so
- Write an test index.html document
 sudo nano  /Library/WebServer/Documents/index.html
 Write "It works" into the file and save it (Control-X).
On the Command line do:
sudo apachectl restart
In a Web browser navigate to http://localhost/
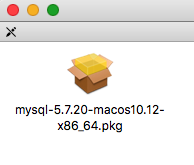
macOS 10.12 (x86, 64-bit), DMG Archive
mysql-5.7.20-macos10.12-x86_64.dmg
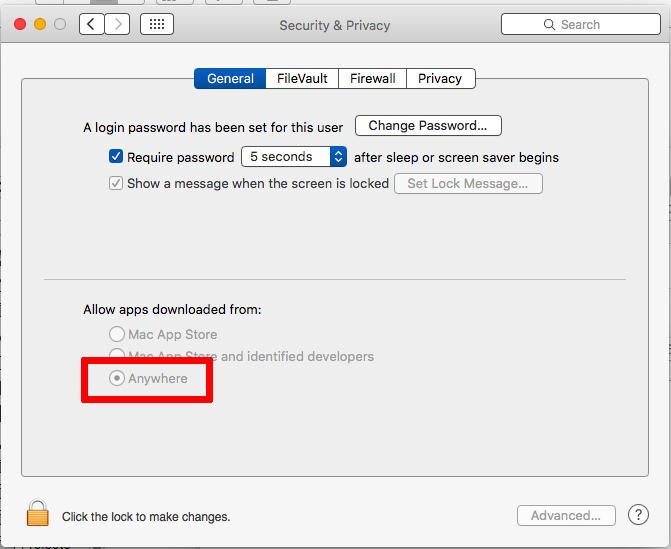
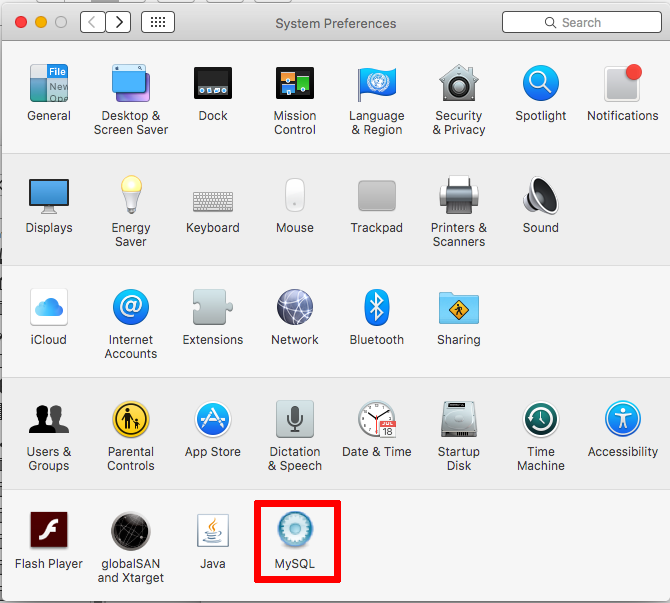
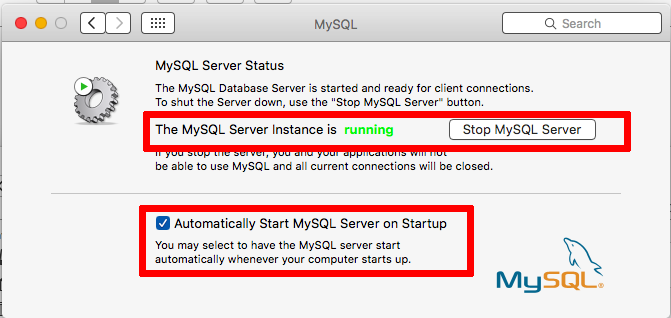
- In the System Preference allow temporary all application to be installed.
- Click the DMG file and follow instruction.
{{Note|Note|After typeing the command you have to hit the Enter key to execute the command}}
mysql -u root -p
{{Note|Note|
Use the mysql administrator password that was created during installation
}}
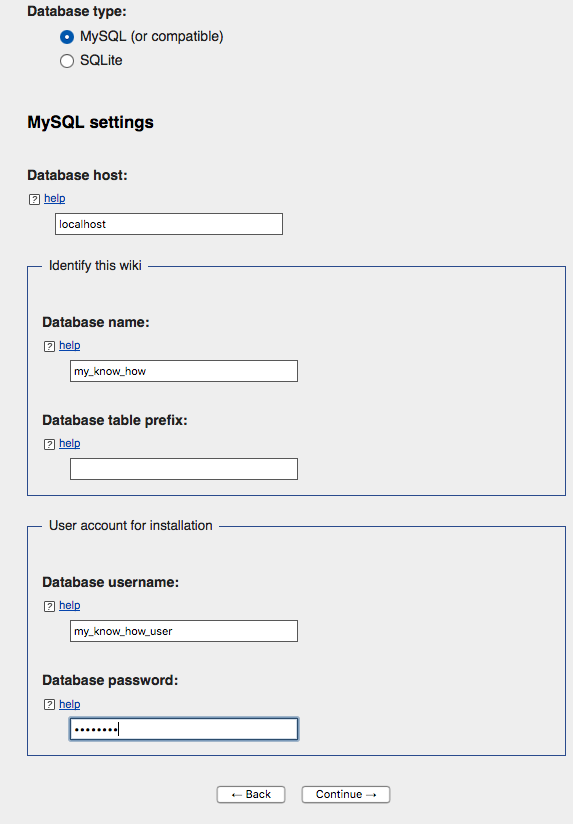
- At the mysql prompt (mysql>) create that database
  create database my_know_how;
 Query OK, 1 row affected (0.06 sec)
- Create database, user and access rights for media wiki
  create user mykh_user@localhost identified by 'meey1Ahf';
  Query OK, 0 rows affected (0.01 sec)
  grant all privileges on my_know_how.* to mykh_user@localhost;
  Query OK, 0 rows affected (0.01 sec)
show grants for mykh_user@localhost;
+------------------------------------------------------------------------------------------------------------------+
| Grants for mykh_user@localhost                                                                                   |
+------------------------------------------------------------------------------------------------------------------+
| GRANT USAGE ON *.* TO 'mykh_user'@'localhost' IDENTIFIED BY PASSWORD '*BEB52EA48AA643D8580D58E945B3FF28D9952F2A' |
| GRANT ALL PRIVILEGES ON `my_know_how`.* TO 'mykh_user'@'localhost'                                               |
+------------------------------------------------------------------------------------------------------------------+
2 rows in set (0.00 sec)
 mysql> quit
 Bye
- Test connect to mysql with the new user:
- On the Terminal type teh following and enter the password we set before:
 mysql -u mykh_user -p
 Enter password: meey1Ahf
 Welcome to the MySQL monitor.  Commands end with ; or \g.
 Your MySQL connection id is 2971
 mysql> quit
 Bye
{{Note|Note|The password is not visible}}
{{Note|Note|tar is a standard Posix tape archiver format which can
gz means it is zipped with the gnu zip command
}}
- Open a Terminal change to you webspace and unpack the media wiki
 cd /Library/WebServer/Documents
 sudo tar xvzf ~/Downloads/mediawiki-1.30.0.tar.gz
 ...Your Password
 sudo ln -s  mediawiki-1.30.0 my-know-how
[http://apple.wikia.com/wiki/Install_MediaWiki_on_Mac_OS_X]
- Open a browser and navigate to
http://localhost/my-know-how/
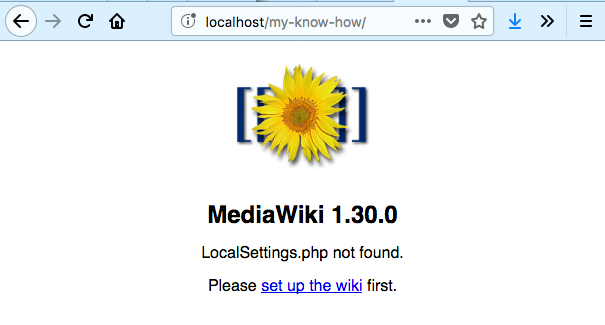
- Click on 'Please set up' and follow the instructions:
NOTE:
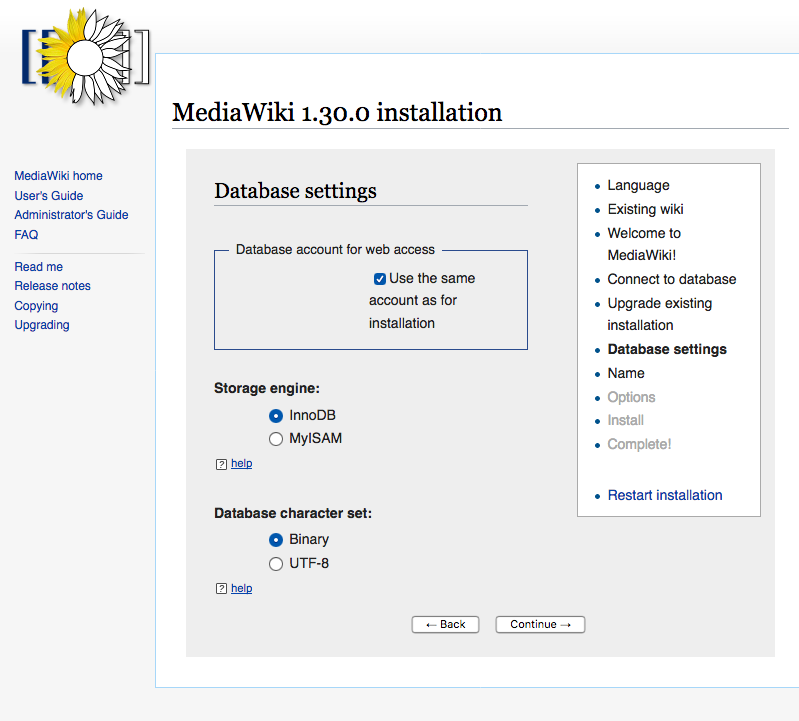
NOTE:
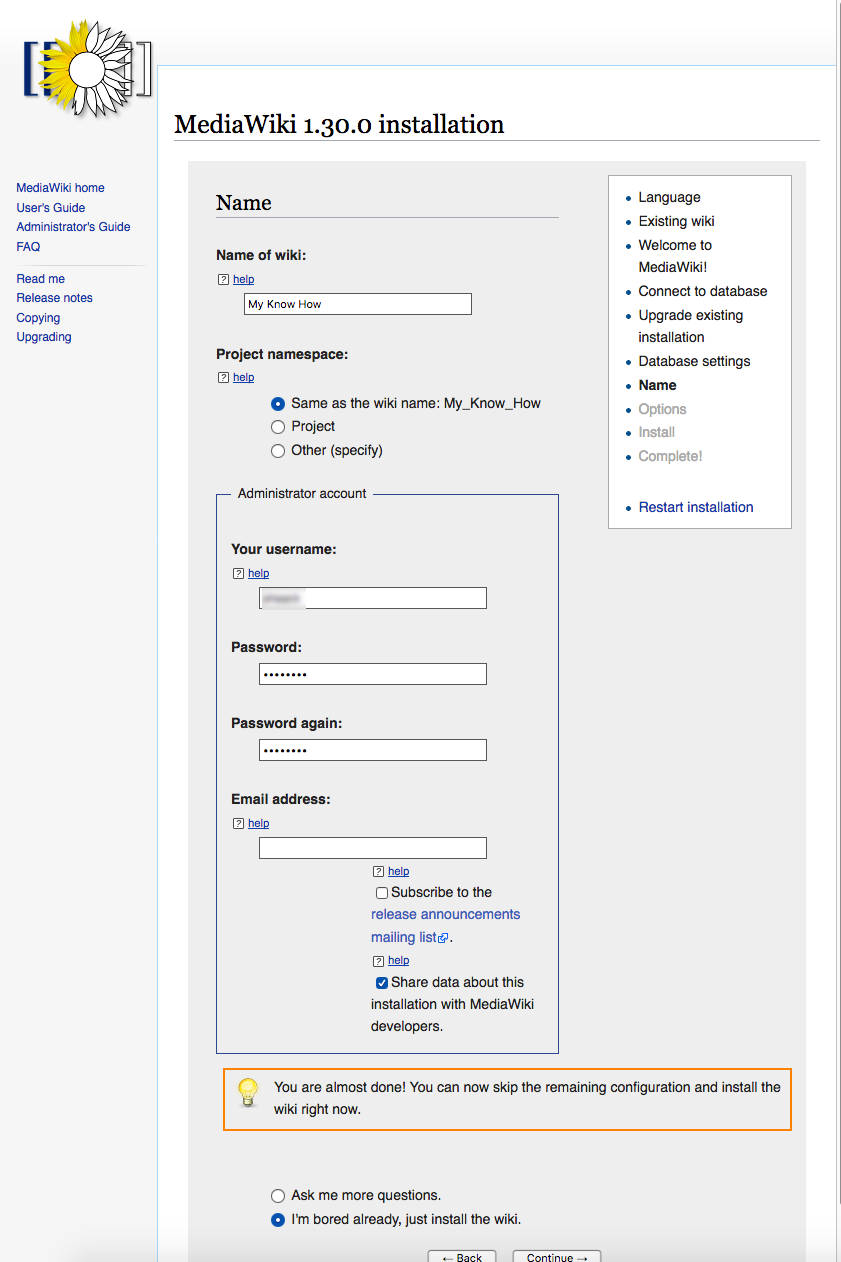
NOTE:
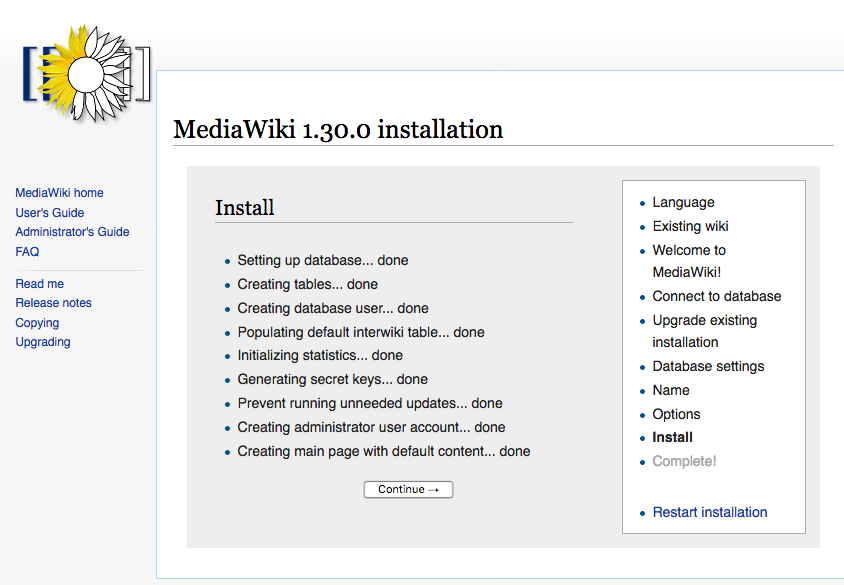
NOTE:
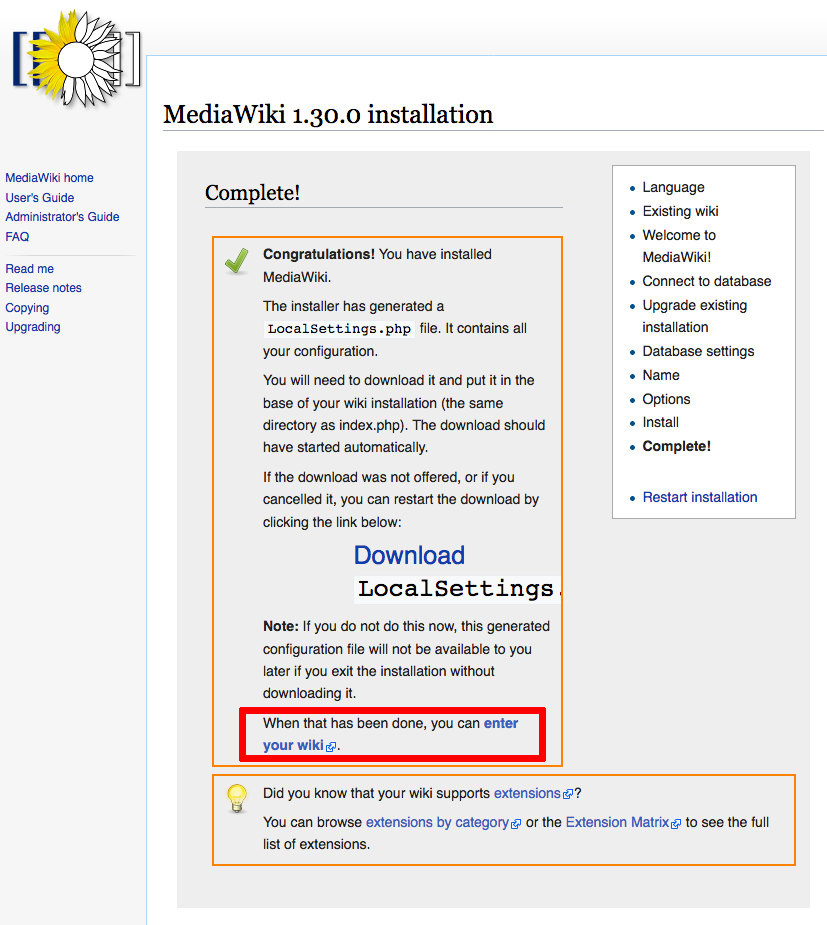
- Download the LocalSettings.php to your Download directory.
- Open a Terminal and copy the file
 sudo cp ~/Downloads/LocalSettings.php /Library/WebServer/Documents/my-know-how
 Password:
- Click on the link in the red Box and You are set
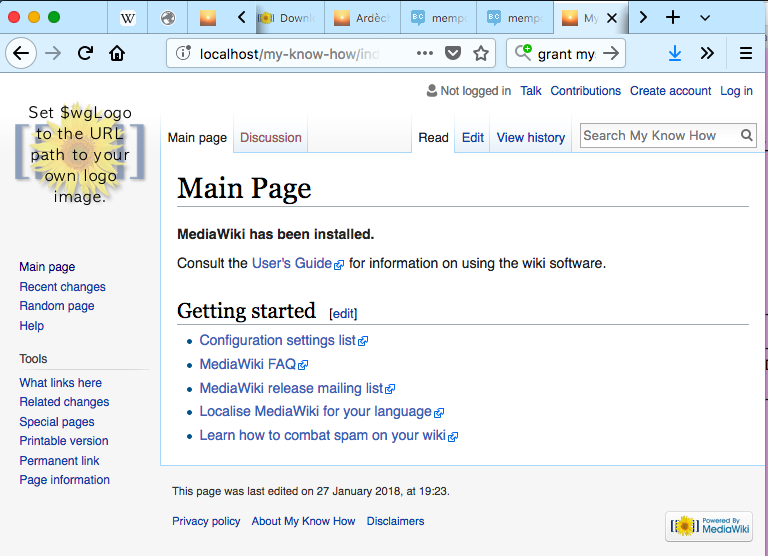
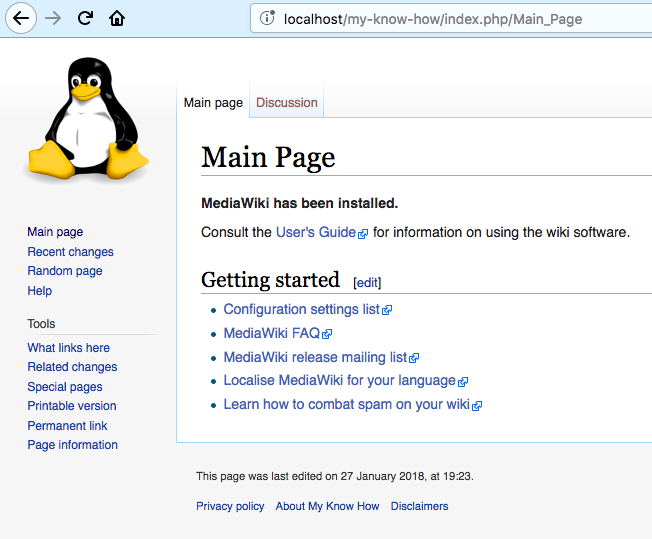
- Download and small image with the size 135ż×ż135 Pixel (here tux.png) to your Download directory.
- Open a Terminal and copy the file
 sudo cp ~/Downloads/tux.png /Library/WebServer/Documents/my-know-how/resources/assets/
 Password:
- To configure the logo edit LocalSettings.php
sudo nano /Library/WebServer/Documents/my-know-how/LocalSettings.php
Search with Control W wgLogo and edit the line
$wgLogo = "$wgResourceBasePath/resources/assets/tux.png";
Save and exit (Control-X)
Status: Published Date: 2018/01/27 20:22:29 Revision: 1.2
Copyright bei Andreas Haack (C) 2014.
Diese Seite wird so wie sie ist zur Verfuegung gestellt, ohne irgenweche Garantien der Verwendbarkeit fuer bestimte Zwecke. Die auf dieser Seiten angebrachten Links liegen ausserhalb der redaktionellen Verantwortung von Andreas Haack und es wird keine Haftung oder Garantie uebernommen. Die Seiten sind Copyright (c) 2014 von Andreas Haack. Kein Teil darf ohne die schriftliche Einverstaendnis von Andreas Haack veroeffentlicht werden.
The page is provided 'as is' , without warranty of any kind, express or implied, including but not limited to the warranties of merchantability, fit- ness for a particular purpose and non-infringement. In no event shall Andreas Haack be liable for any claim, damages or other liability. This page is copyrighted property of Andreas Haack. Copyright by Andreas Haack (c) 2014 . No part of this page may be published without written permission for Andreas Haack. A hyper-link may created to this page but NOT to the embedded elements of this page. It may be freely downloaded for private purpose only as long as it is unaltered.